Painting is one of the most basic ways to renovate and refresh your home, but it can actually be the trickiest if you aren’t knowledgeable about technique and preparation. Before you begin the process of painting your home, check out these interior house painting tips to ensure a flawless finished product!
Step 1: Plan Your Approach
As with any home renovation, it’s most important to have a set plan before you begin. Follow these tips for a successful approach to painting your home.
Choose Your Paint Color
With hundreds of shades to choose from, it can be hard to decide what color you want for painting your home. A good strategy is to think of the big picture and slowly narrow down the options as you go. First, decide whether you want a cool, warm, or neutral shade. Consider your room’s furnishings and decor to make sure the color complements the space. Once you have a better idea, pick a few shades that stand out to you.
Don’t be afraid to try samples as well. Paint small swatches on your walls to give you an idea of what you like most. And remember that accent walls are a great way to bring contrast and interest to your room!
Step 2: Gather All of Your Supplies
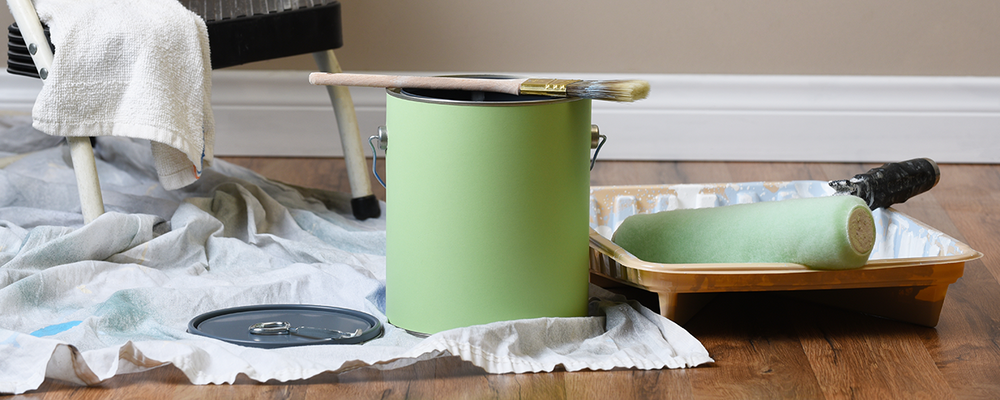
While this step may seem obvious, it’s always nice to have a checklist to follow when you’re out shopping for your painting supplies. Here are the main items you’ll need:
-
Paint
-
Paint roller
-
Paint roller extension pole
-
Drop cloths
-
Paintbrushes
-
Paint tray
-
Sandpaper
-
Painter’s tape
-
Rags
-
Putty knife
Step 3: Prep Your Space
Remove All Furniture
After you’ve chosen your paint color, it’s time to prep your space. Begin by removing all of the furniture and fixtures you can to open up the room and give yourself plenty of working space. If you leave some furnishings in the room, make sure to cover them properly to avoid any paint stains.
As you clear out furniture, inspect each room and look for proper ventilation outlets to use as you paint.
Make Necessary Repairs
Nail holes and daily wear and tear are just a couple of reasons why repairs are necessary before painting your home. Inspect all of the walls and ceilings for cracks, holes, dents, and other flaws. Use caulk or a lightweight spackling substance with a putty knife to fill and repair as you see fit.
Make sure you let the repairs dry completely before moving to the next step. If you notice any bulges or rough spots, use fine sandpaper to smooth out those areas and make them flush with the wall.
Clean the Walls
You’d be surprised how dirty your walls can get with dust and spiderwebs. That’s why it’s super critical to wipe all of the surfaces clean with a damp towel or sponge and leave them to dry.
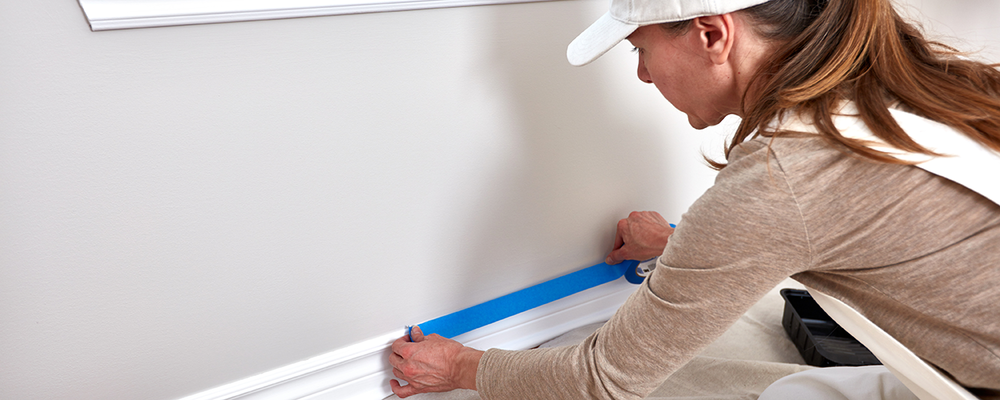
Apply Painters Tape
Perhaps one of the most important interior house painting tips is to use quality painter’s tape. Unless you have the steady hands of a surgeon and the talent of Michelangelo, this is going to be your savior when it comes to clean lines and a neat paint job. Use this tape to mask off your moldings, windows, and doors. Here are a few pro tips:
-
Always press the painter’s tape down flat and even to prevent bleed-through
-
Choose the right tape for your wall—some are best for textured or delicate walls
-
For accent walls, mask the inside edge from the rest of the room
Put Down Drop Cloths
If you’ve painted before, you know that it’s impossible to get the job done without creating at least some mess. Keep your floors protected from spills and splatters by putting down drop cloths across the room. You can even put them down near the entryway where you may be walking in and out.
Take note of the different kinds of drop cloths and what they are best used for:
-
Canvas drop cloths are extremely durable and absorbent, so they can be reused.
-
Plastic drop cloths are durable and less expensive but not absorbent, so spills are more likely to be tracked if stepped on.
-
Paper is the most economical but can tear easily on floors. It is better for covering light fixtures, cabinets, and furniture.
Step 4: Prime and Paint the Ceiling
Prime the Ceiling First
An interior house painting tip you may not know is that you should always start with the ceiling first, then tackle your walls last. While it’s tempting to jump right into painting with your chosen color, it’s crucial to use primer in certain situations. Not sure when primer is necessary? If your walls or ceilings fall under these categories, you need primer:
-
The surface is porous
-
The drywall is skim-coated
-
The previous coat is glossy
-
The paint colors are changing from dark to light
-
The surface is stained
If you don’t feel like spending extra money and time on a separate coat of primer, keep in mind that some brands offer paint and primer in one!
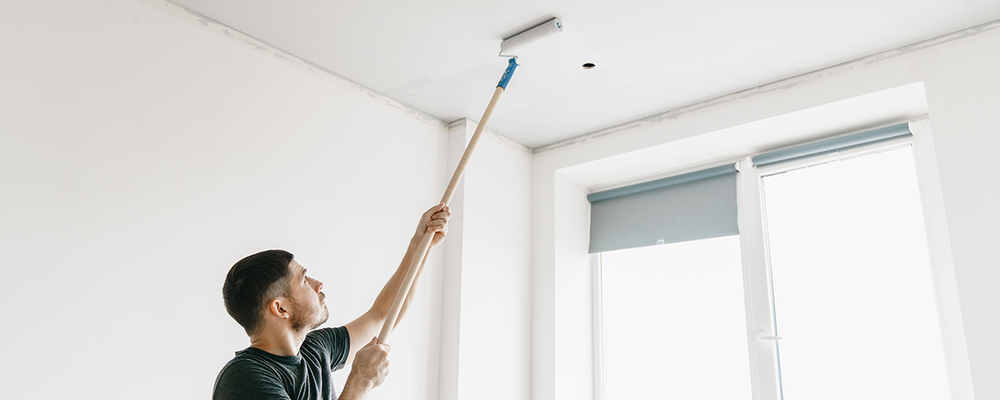
Paint the Ceiling
Once the primer has fully dried, you’re ready to paint! The best way to paint a ceiling is to use a paint roller and work in grid-like sections of 3×5 feet each. This method helps to keep edges wet and allows you to see your progress to guarantee an even coat. Here are some additional tips to ensure a perfect finished product.
-
For smooth ceilings, use a low nap roller. For a textured ceiling, use a roller with 1/2-inch or 3/4-inch nap.
-
Consistently use your paint tray to coat the roller with ceiling paint and remember to roll slowly.
-
Begin rolling when the paint cut line is still wet.
-
Start in a corner and roll in overlapping rows.
-
Do not roll directly over your head.
-
Slightly vary the direction of your rolling because straight lines can show overlap marks.
Step 5: Prime Your Walls
Follow a similar process to prime your walls just as you did your ceiling. Either use a separate primer or purchase a paint and primer combo to knock it all out at once.
As you begin painting your home with primer, use a paint brush to create 2-3 inch bands around the edges, corners, and frames of your room (this is also called “cutting in”). Next, grab your roller and paint the walls in 3×3 foot sections, remembering to work top to bottom. Roll back and forth across the wall in a series of V or W-shaped strokes. Always overlap areas of wet primer.
Step 6: Sand the Primer
While this step isn’t mandatory for painting like a pro, it’s a thorough method that eliminates any imperfections on your walls. After the primer dries, simply sand away bumps and ridges using fine grit sandpaper folded into quarters. When one section of sandpaper becomes covered with dust, switch to a fresh section and continue.
After you’re done, wipe the wall clean with a damp towel and let it dry. Now you’re ready for the paint!
Step 7: Paint Your Walls
A basic interior house painting tip experts always follow is painting walls one at a time. This will give your walls a smoother look by blending wet paint you’ve brushed on with wet paint you’re rolling.
Make sure you follow the same method you did with your ceilings and use a paint brush to create 2-3 inch bands around the edges of your room. Use V or W-shaped strokes as well. To give you further guidance, take a look at these extra tips for painting your walls:
-
Before reloading your roller and moving to the next section, roll over the area you’ve just painted in a smooth, continuous stroke from top to bottom. These smoothing strokes help cover up lines and tracks and even out your coats.
-
Periodically remix your paint using a mixing stick. You should do this any time you leave your paint sitting for an extended period of time.
-
Wait 2-4 hours for the first coat to dry before applying a second coat. Follow the exact same process and techniques used when priming your walls.
Step 8: Clean Up
Once you’ve finished painting, your work is essentially done! The only task left is the clean up. Remove your painter’s tape before or right after the paint completely dries. It’s important to stay within this time frame because if left on for too long, the tape can tear and leave residue when removed.
Tightly seal remaining paint cans, thoroughly clean brushes and rollers with soapy water, remove drop cloths, and put your furniture back in place.
Painting your home is a fun and affordable way to freshen up your space and bring new pops of color into your rooms. The next time you feel like trying a DIY paint project, follow these steps and interior house painting tips to ensure a beautiful finished product you’re proud of! For more guidance on DIY projects, read through these 6 home renovation tips that’ll make the process easier.
